
Reverse Engineering
Reverse Engineering With 3D Scanning: From Point Cloud to Production CAD
When a part has no drawing, no CAD file, and no manufacturer left to call, 3D scanning is where reverse engineering begins. Here's the process end to end.
Reverse Engineering12 January 2026·By The Sarjan Solution Team
When a part has no drawing, no CAD file, and no manufacturer left to call, 3D scanning is where reverse engineering begins. It sounds like magic — point a scanner at a part, get a CAD model back — but the useful part of the process happens after the scan, not during it. Here's the workflow end to end.
1. Capture: Getting Clean Scan Data
The scan itself produces a point cloud or mesh — millions of coordinates describing the part's surface. Scan quality depends heavily on part preparation: reflective or dark surfaces often need a temporary matte coating, and the part needs to be scanned from enough angles to avoid gaps behind features like ribs or bosses.
2. Cleanup: From Noisy Mesh To Usable Reference
Raw scan data is noisy. Cleanup involves removing stray points, filling small gaps, aligning multiple scan passes into one coordinate system, and reducing the mesh to a manageable size — all without losing the geometric features that actually matter for the rebuild.
3. Rebuild: Turning A Mesh Into A Parametric Model
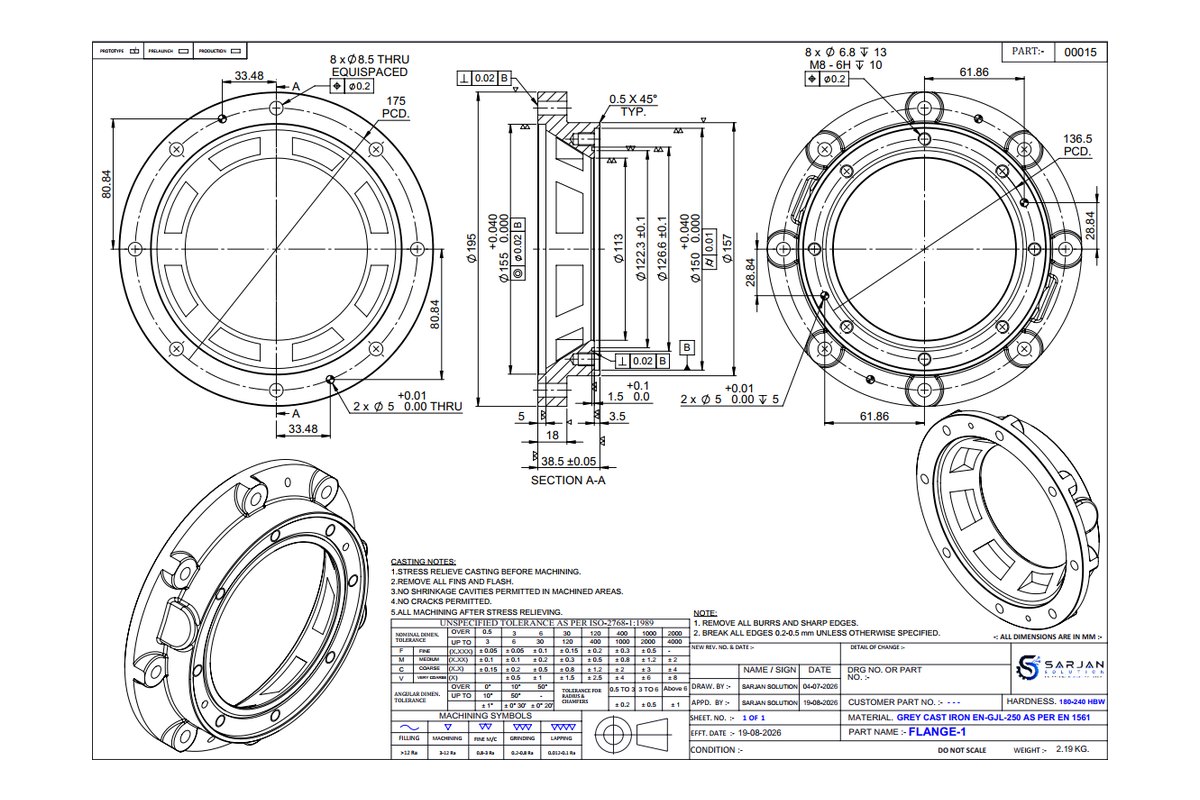
This is the core of reverse engineering, and where the real engineering judgement happens. The cleaned mesh becomes a reference layer, and the CAD model is rebuilt on top of it using proper features — extrudes, revolves, fillets — the same way it would be modelled from a drawing. A cylindrical boss becomes a cylinder feature with a clean, round diameter, not a lumpy freeform surface that happens to be roughly cylindrical.
4. Validate: Checking The Rebuild Against The Scan
Once modelled, the CAD is compared back against the original scan data using a deviation analysis — a colour map showing exactly where, and by how much, the model differs from the physical part. This is the step that turns "looks about right" into a documented, defensible accuracy figure.
5. Improve (Optional): Fixing What The Original Design Got Wrong
Reverse engineering is often the first opportunity in years to actually look closely at a part's design. If there's a known failure point, a manufacturing pain point, or a chance to swap to a more available material, this is the moment to raise it — before the "new" part inherits the same weaknesses as the old one.
When To Reach For Reverse Engineering
It's the right tool when you need spare parts for equipment the original vendor no longer supports, when tooling exists but the drawing that created it doesn't, or when a competitor or field-damaged part needs to be understood and reproduced accurately. In each case, the goal isn't just a 3D shape — it's a CAD model you can actually engineer with.
SS
Written by the Sarjan Solution Team
CAD design & engineering consultancy, Ahmedabad & Gandhinagar — delivering CAD, simulation and product design services since 2018.
Keep Reading
More Insights
Ready To Engineer Your Next Product?
Send us your requirement with a brief description and we'll reach out with the best quote — usually within one business day.